That was the challenge behind this recent set of doors brought into our Hull workshop.
The customer wanted to get away from layers of old paint and bring the original timber back into view, but there was an additional concern. The doors had previously been coated with lead-containing paint and the customer wanted a finishing system designed to reduce potential exposure to any remaining lead residue as far as practically possible.
Simply stripping the paint wasn't enough for what they wanted.
Instead, we developed a multi-stage process involving professional paint stripping, neutralising, fine sanding, repeated lead testing, a shellac-based sealing coat and two different heavy-duty polyurethane finishes.
To retain the appearance and character of the original timber while creating a durable, sealed and easily cleaned finished surface, with no indication of accessible lead residue on our final surface test.
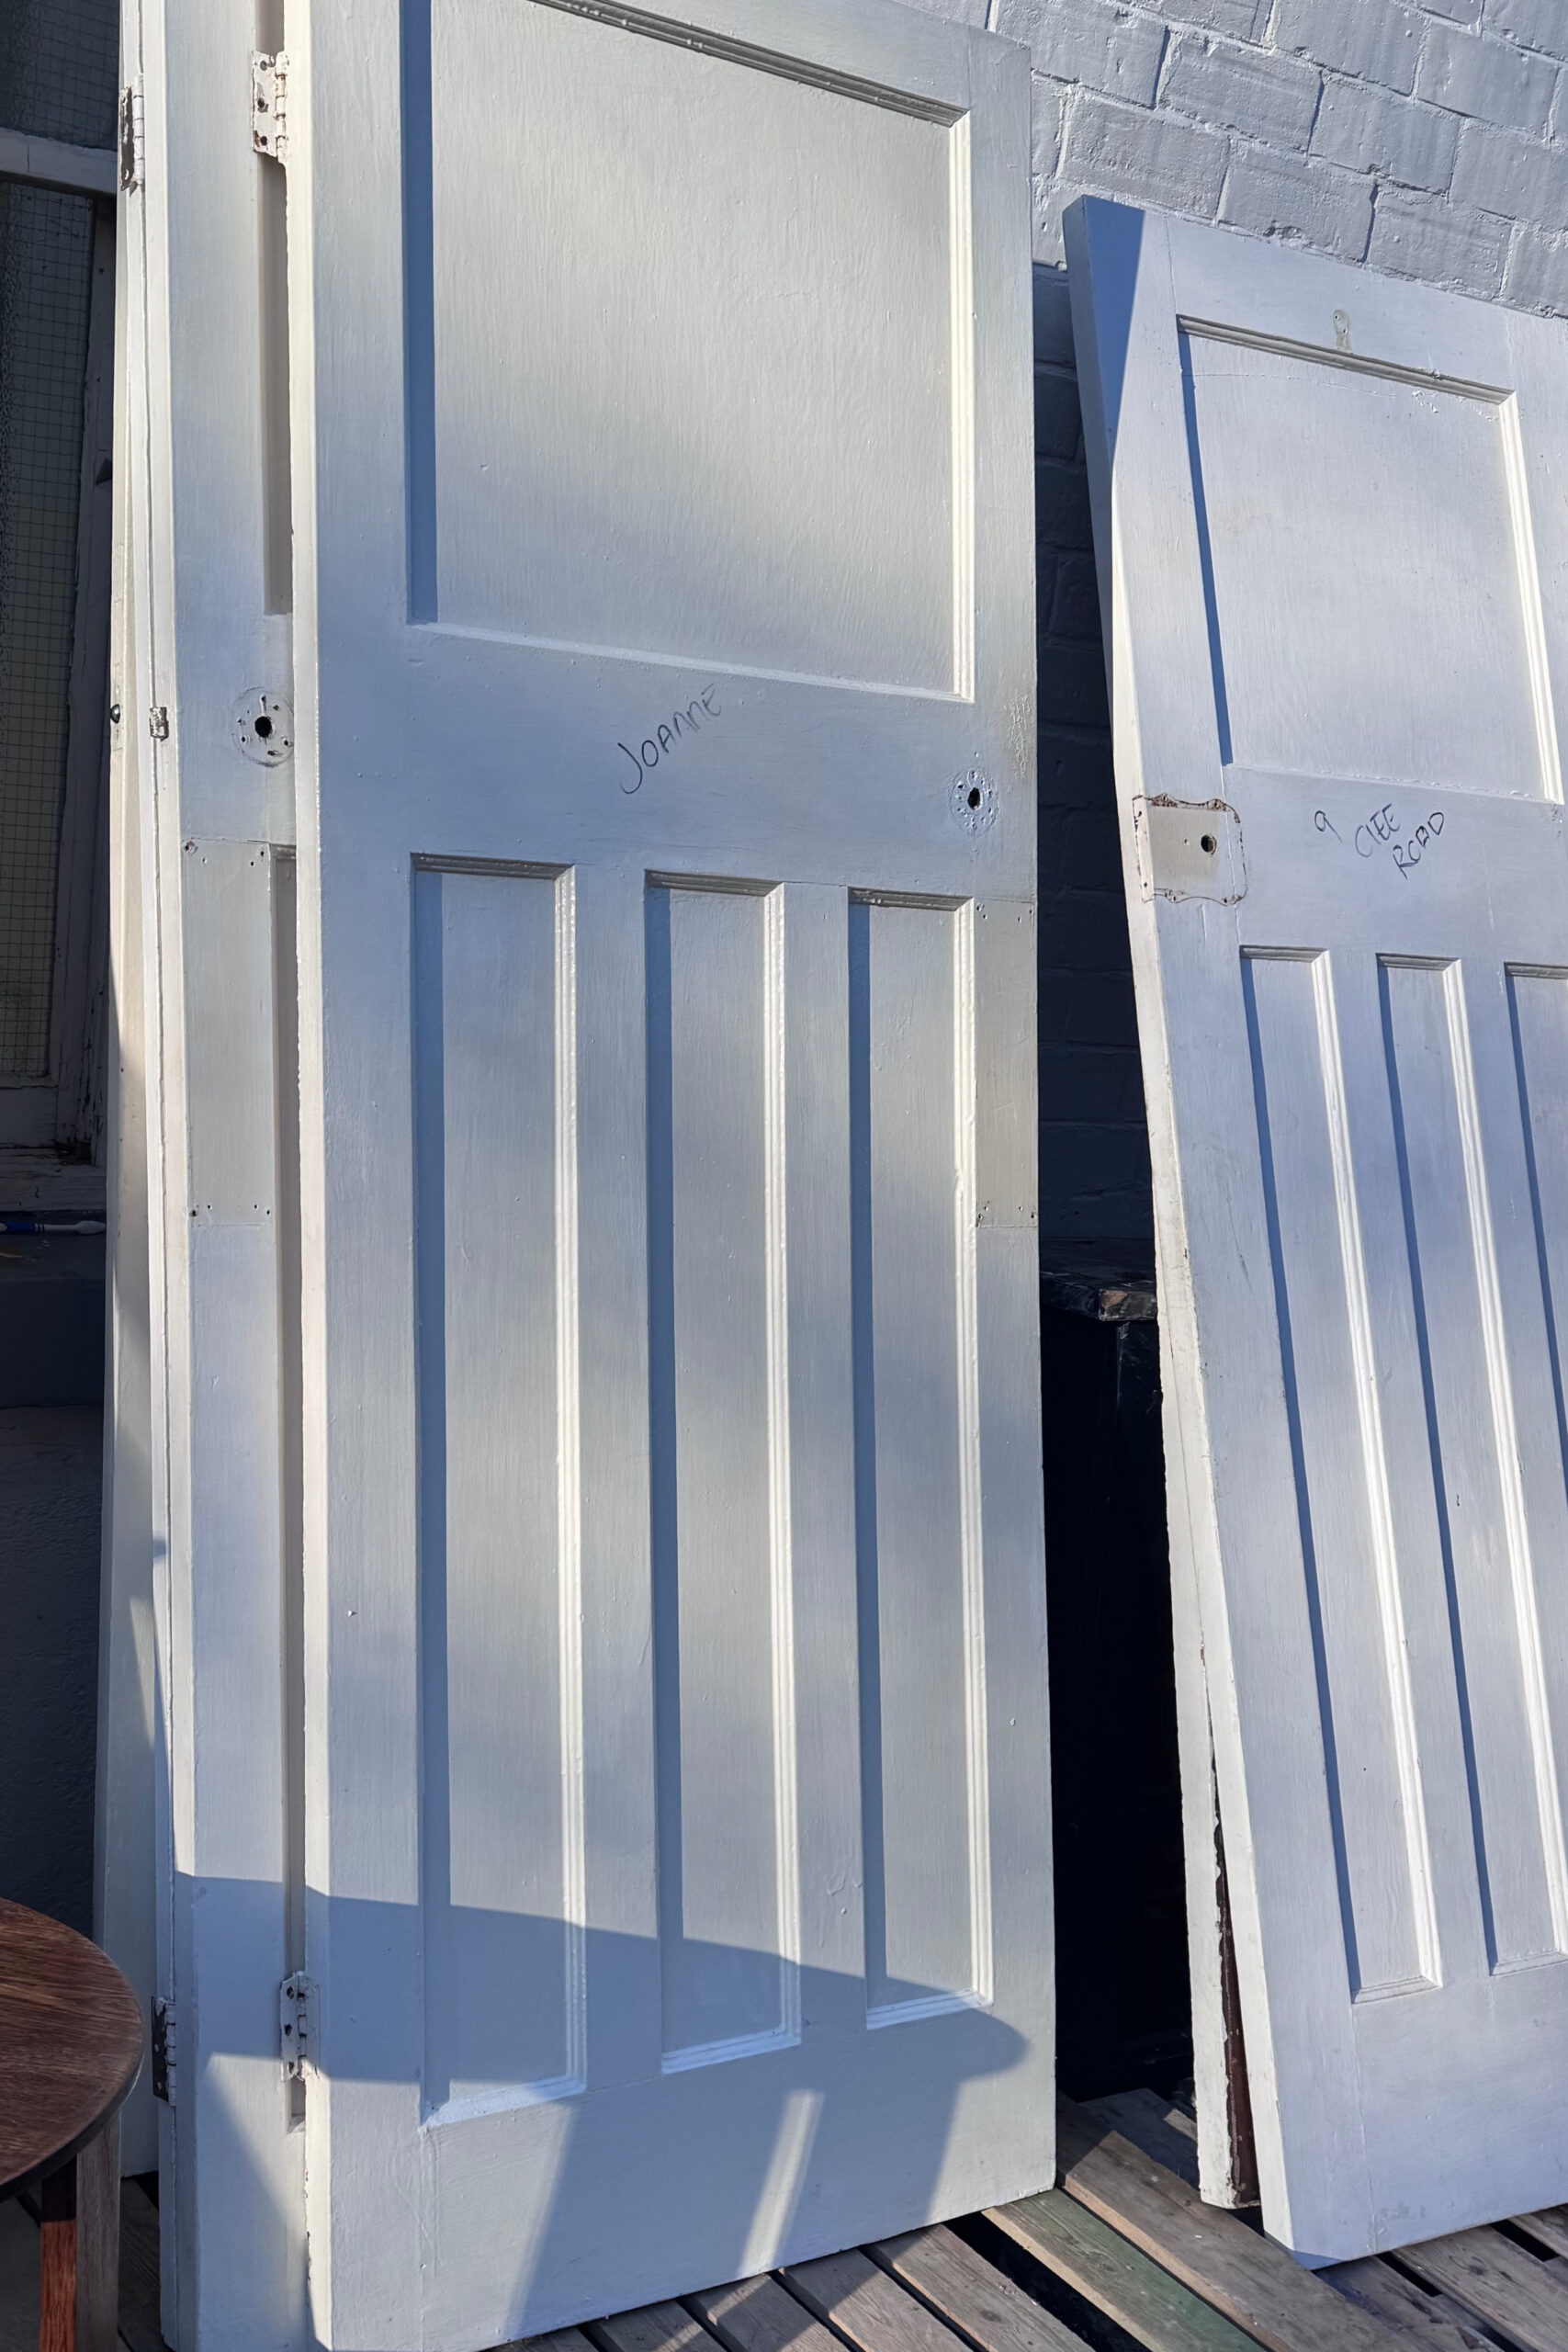
The first stage was our normal professional stripping process to remove the accumulated coatings from the doors.
Older internal doors may have been redecorated numerous times during their life, so what appears to be a single painted surface can actually consist of many separate layers of gloss, undercoat and historic coatings.
Once the paint had been removed, the doors were thoroughly cleaned and neutralised before being allowed to dry sufficiently for the next stage.
We then progressively sanded the timber down to 240 grit.
This refined the surface, removed loose and contaminated surface fibres and gave us a clean, smooth base for the sealing process.
Because lead exposure was the main concern on this particular job, we didn't want to rely purely on how clean the doors looked.
We tested the surface as the work progressed.
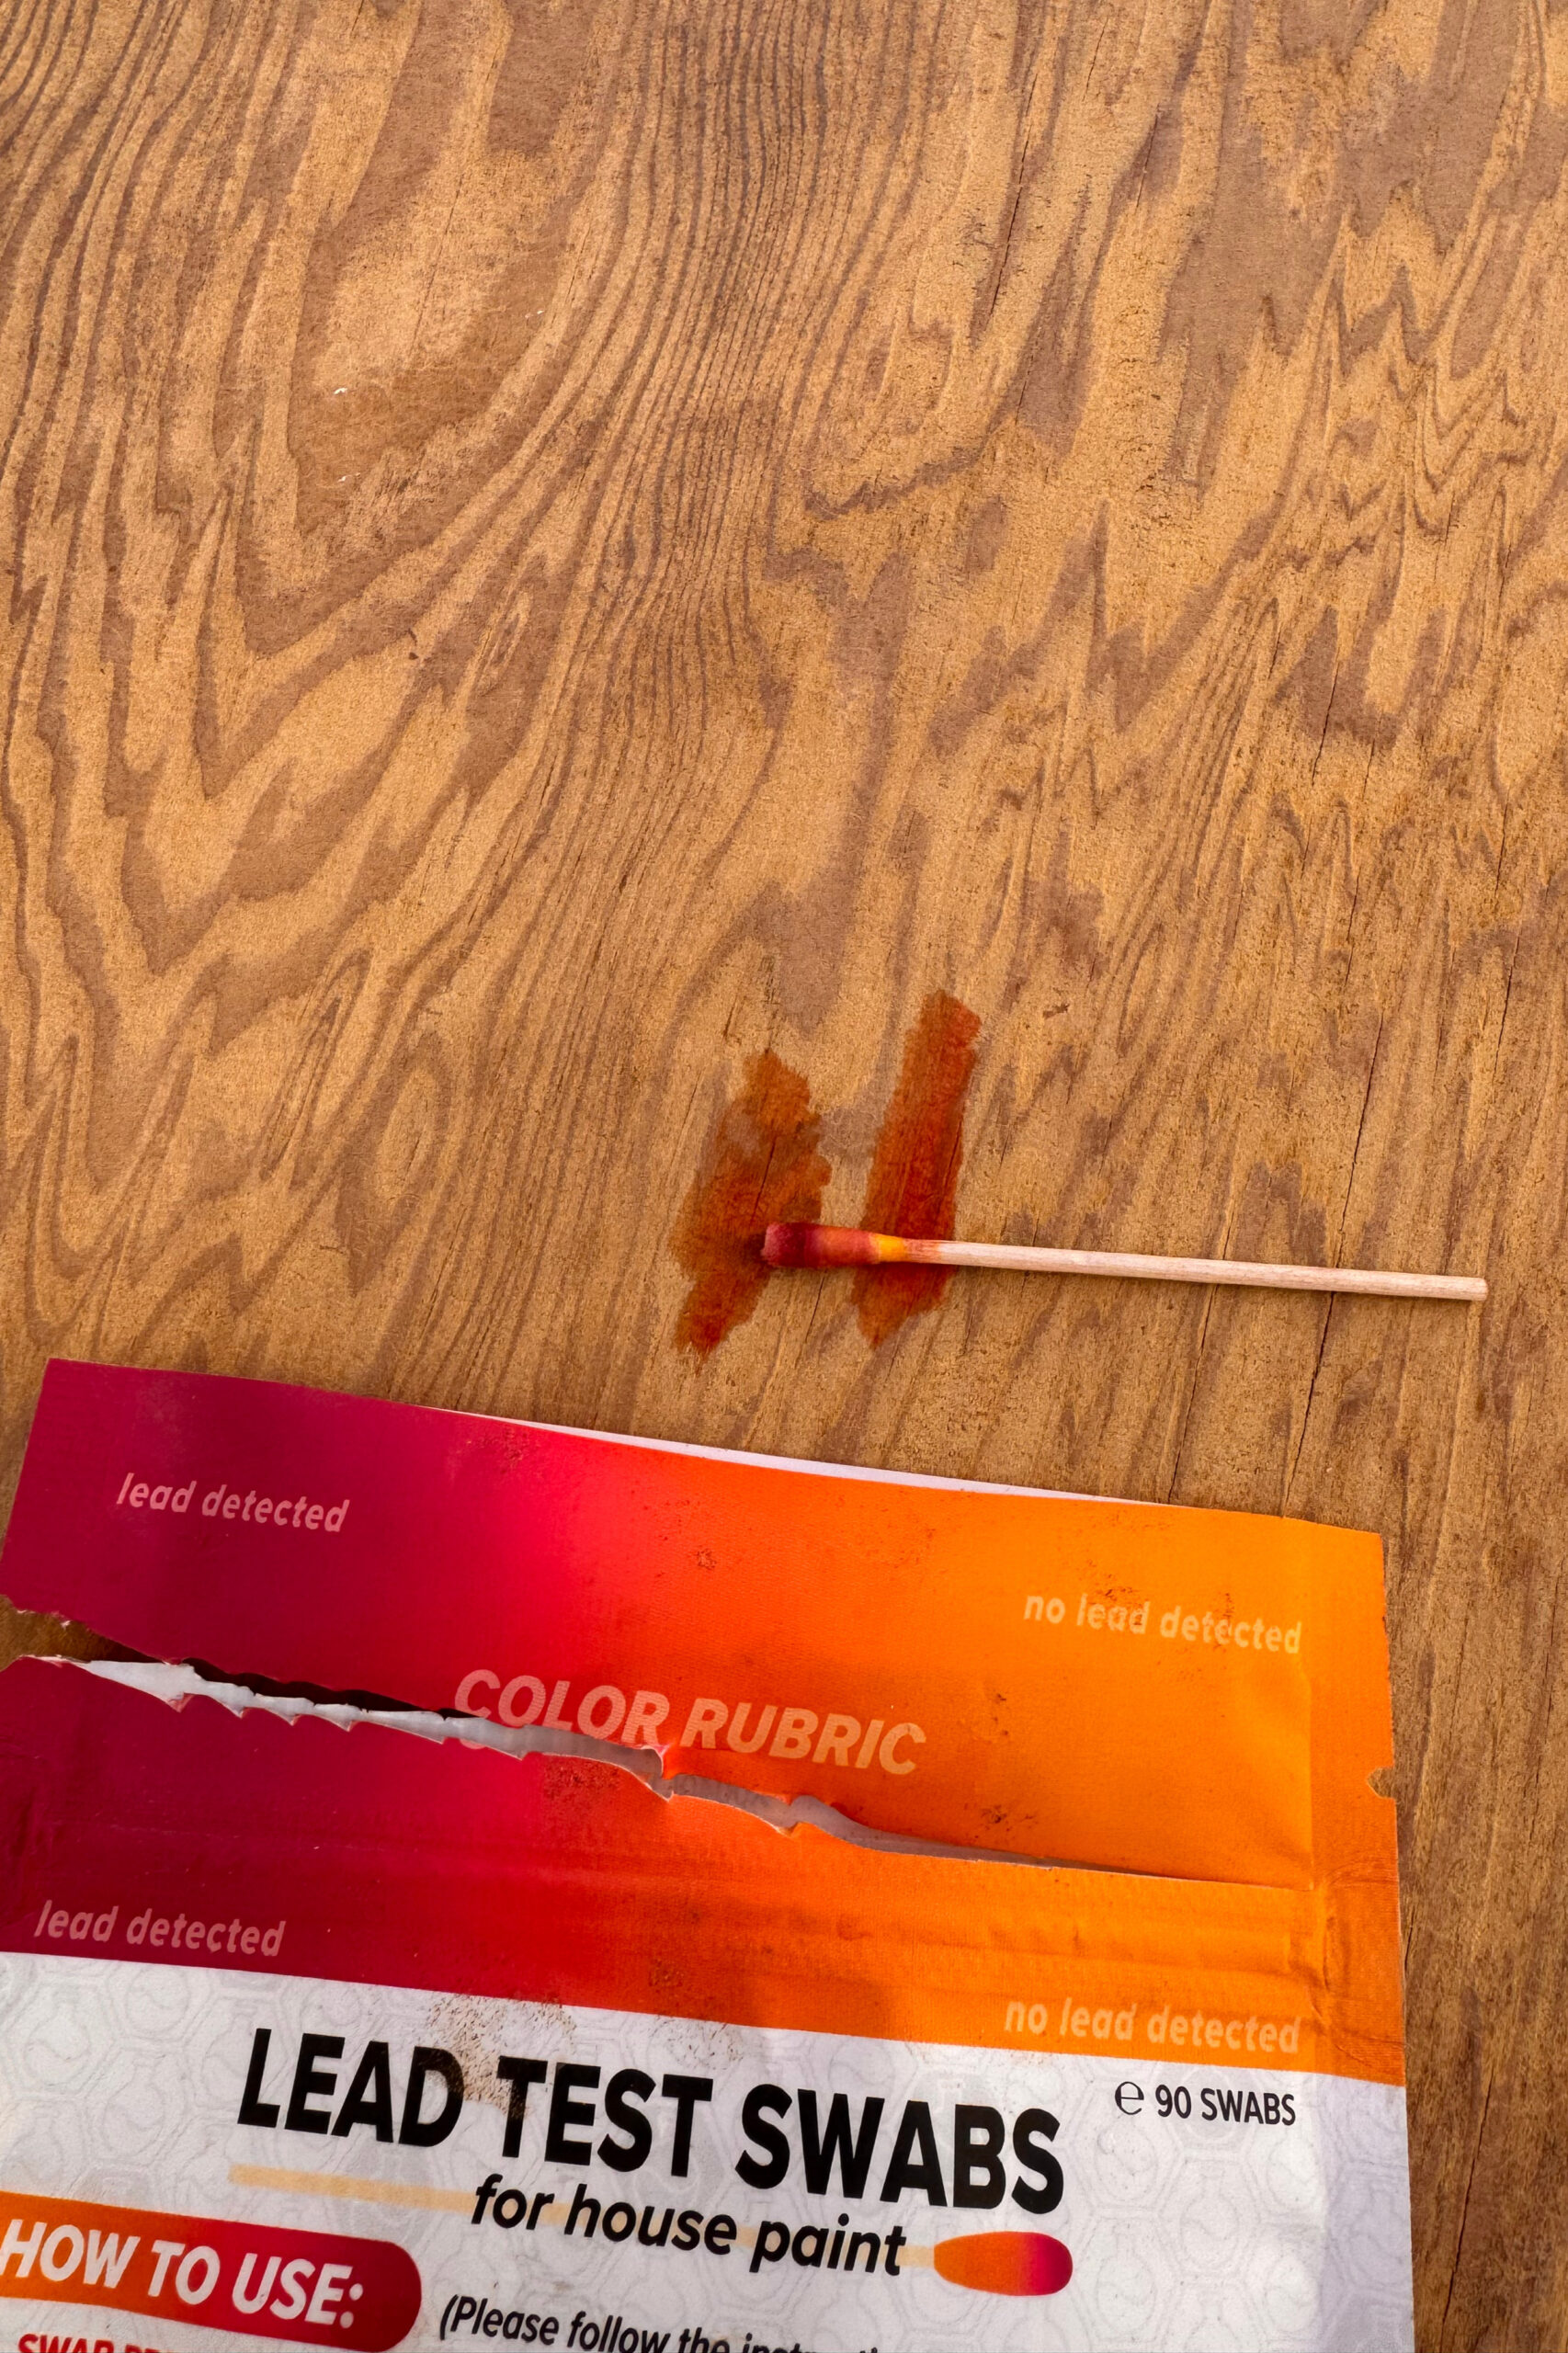
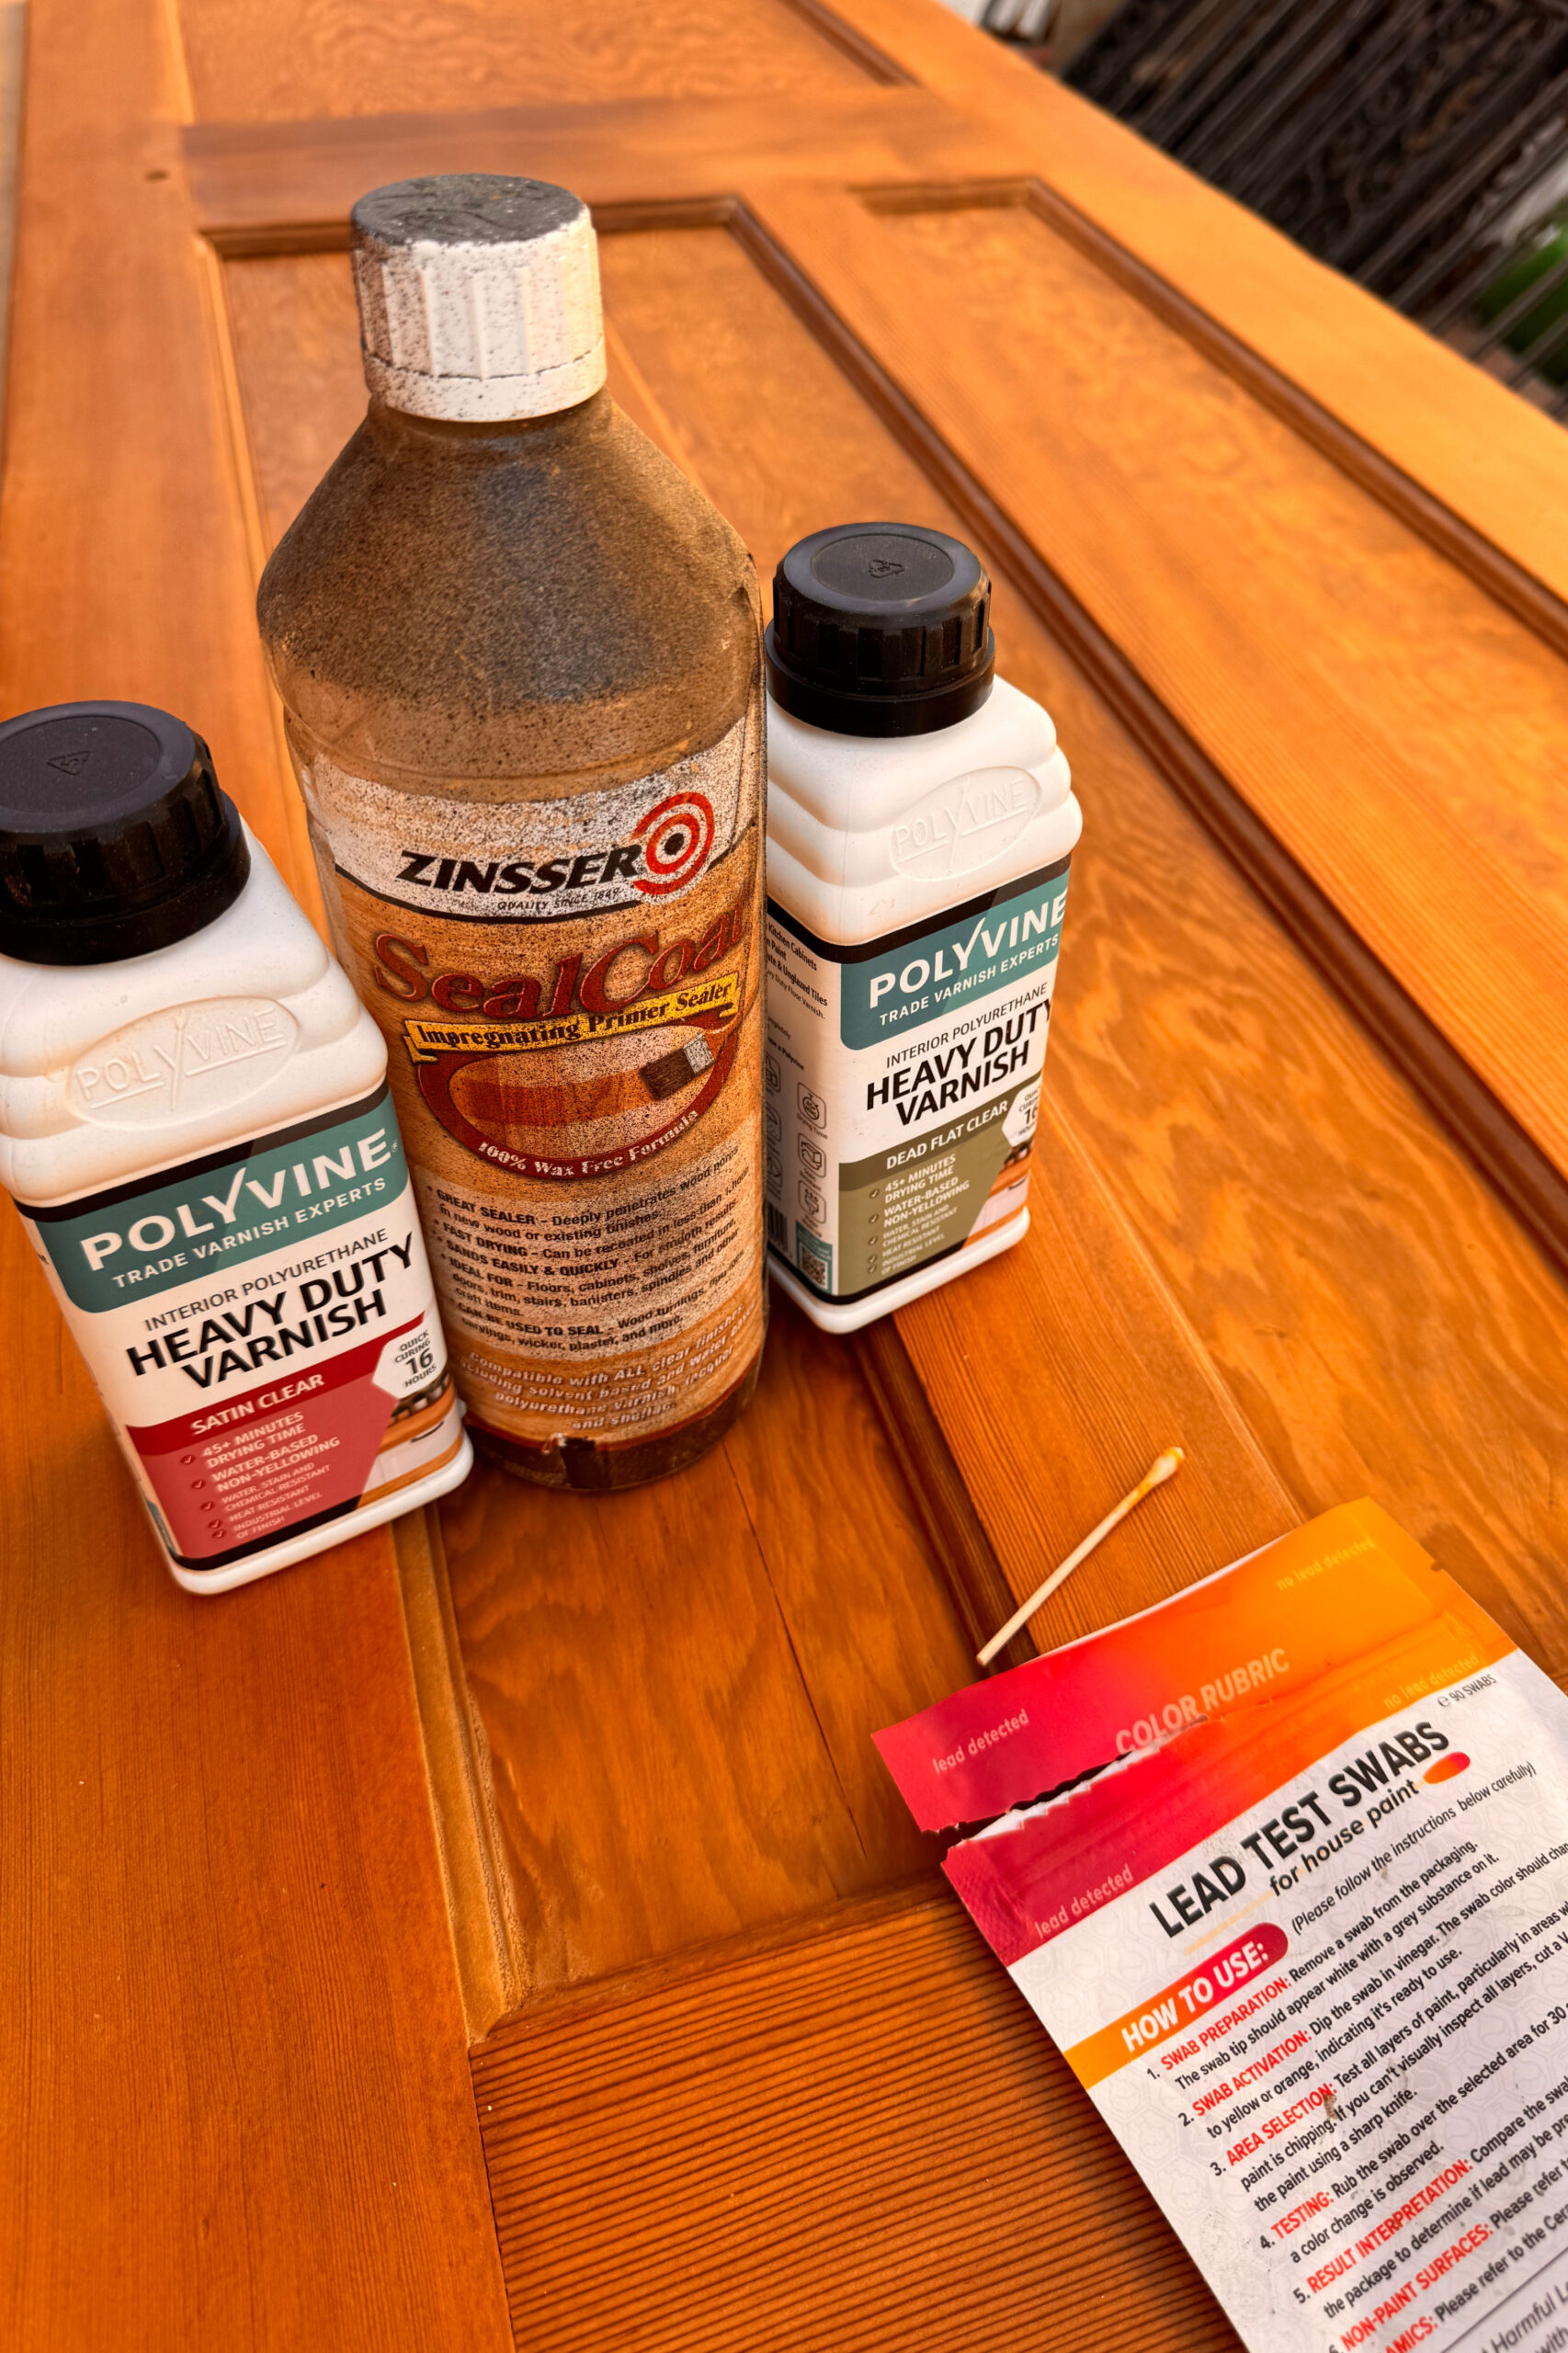
Following stripping and sanding, the doors looked extremely clean to the eye, but the lead test still gave an indication that residual lead was present at the exposed timber surface.
This is a useful reminder that a piece of timber looking completely bare doesn't necessarily mean that every trace of a historic coating has disappeared from the surface fibres.
Once we were happy with the preparation, the first barrier coat was applied using Zinsser SealCoat.
This gave us a sealed base over the prepared timber before moving on to the polyurethane system.
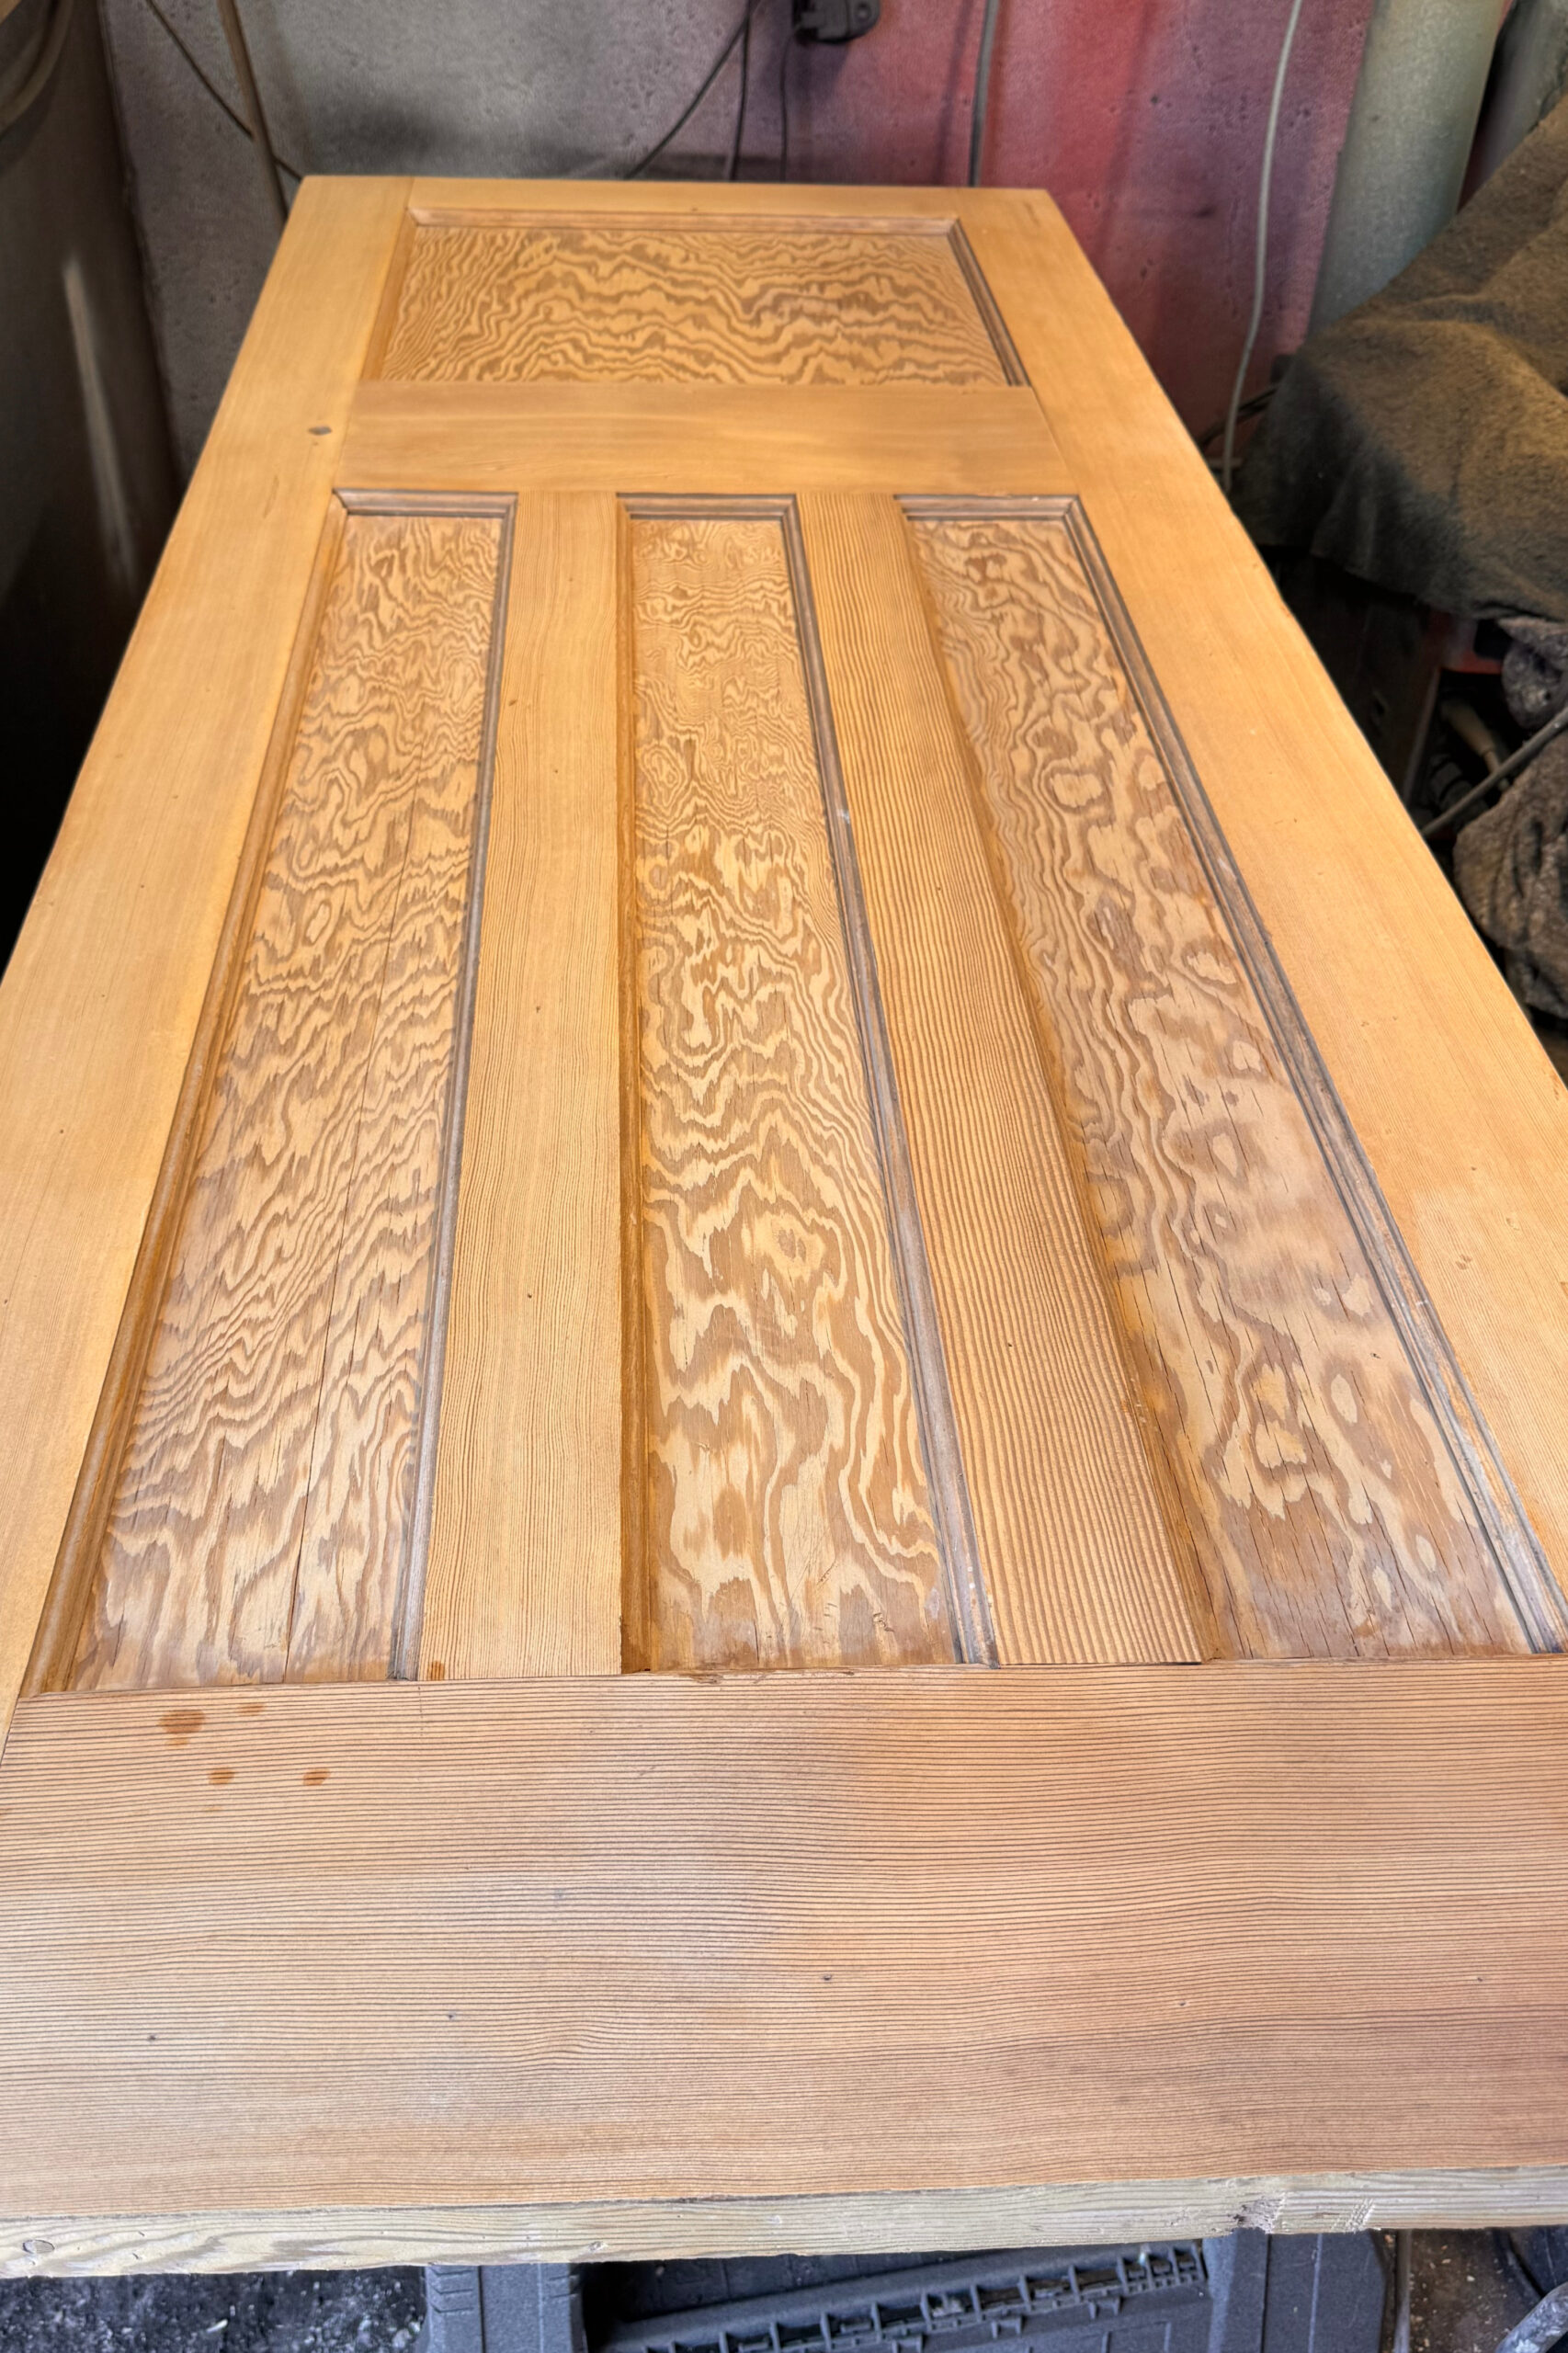
It also immediately changed the appearance of the door. The pale freshly sanded timber became warmer and richer and some of the fantastic grain hidden beneath the old paint began to stand out.
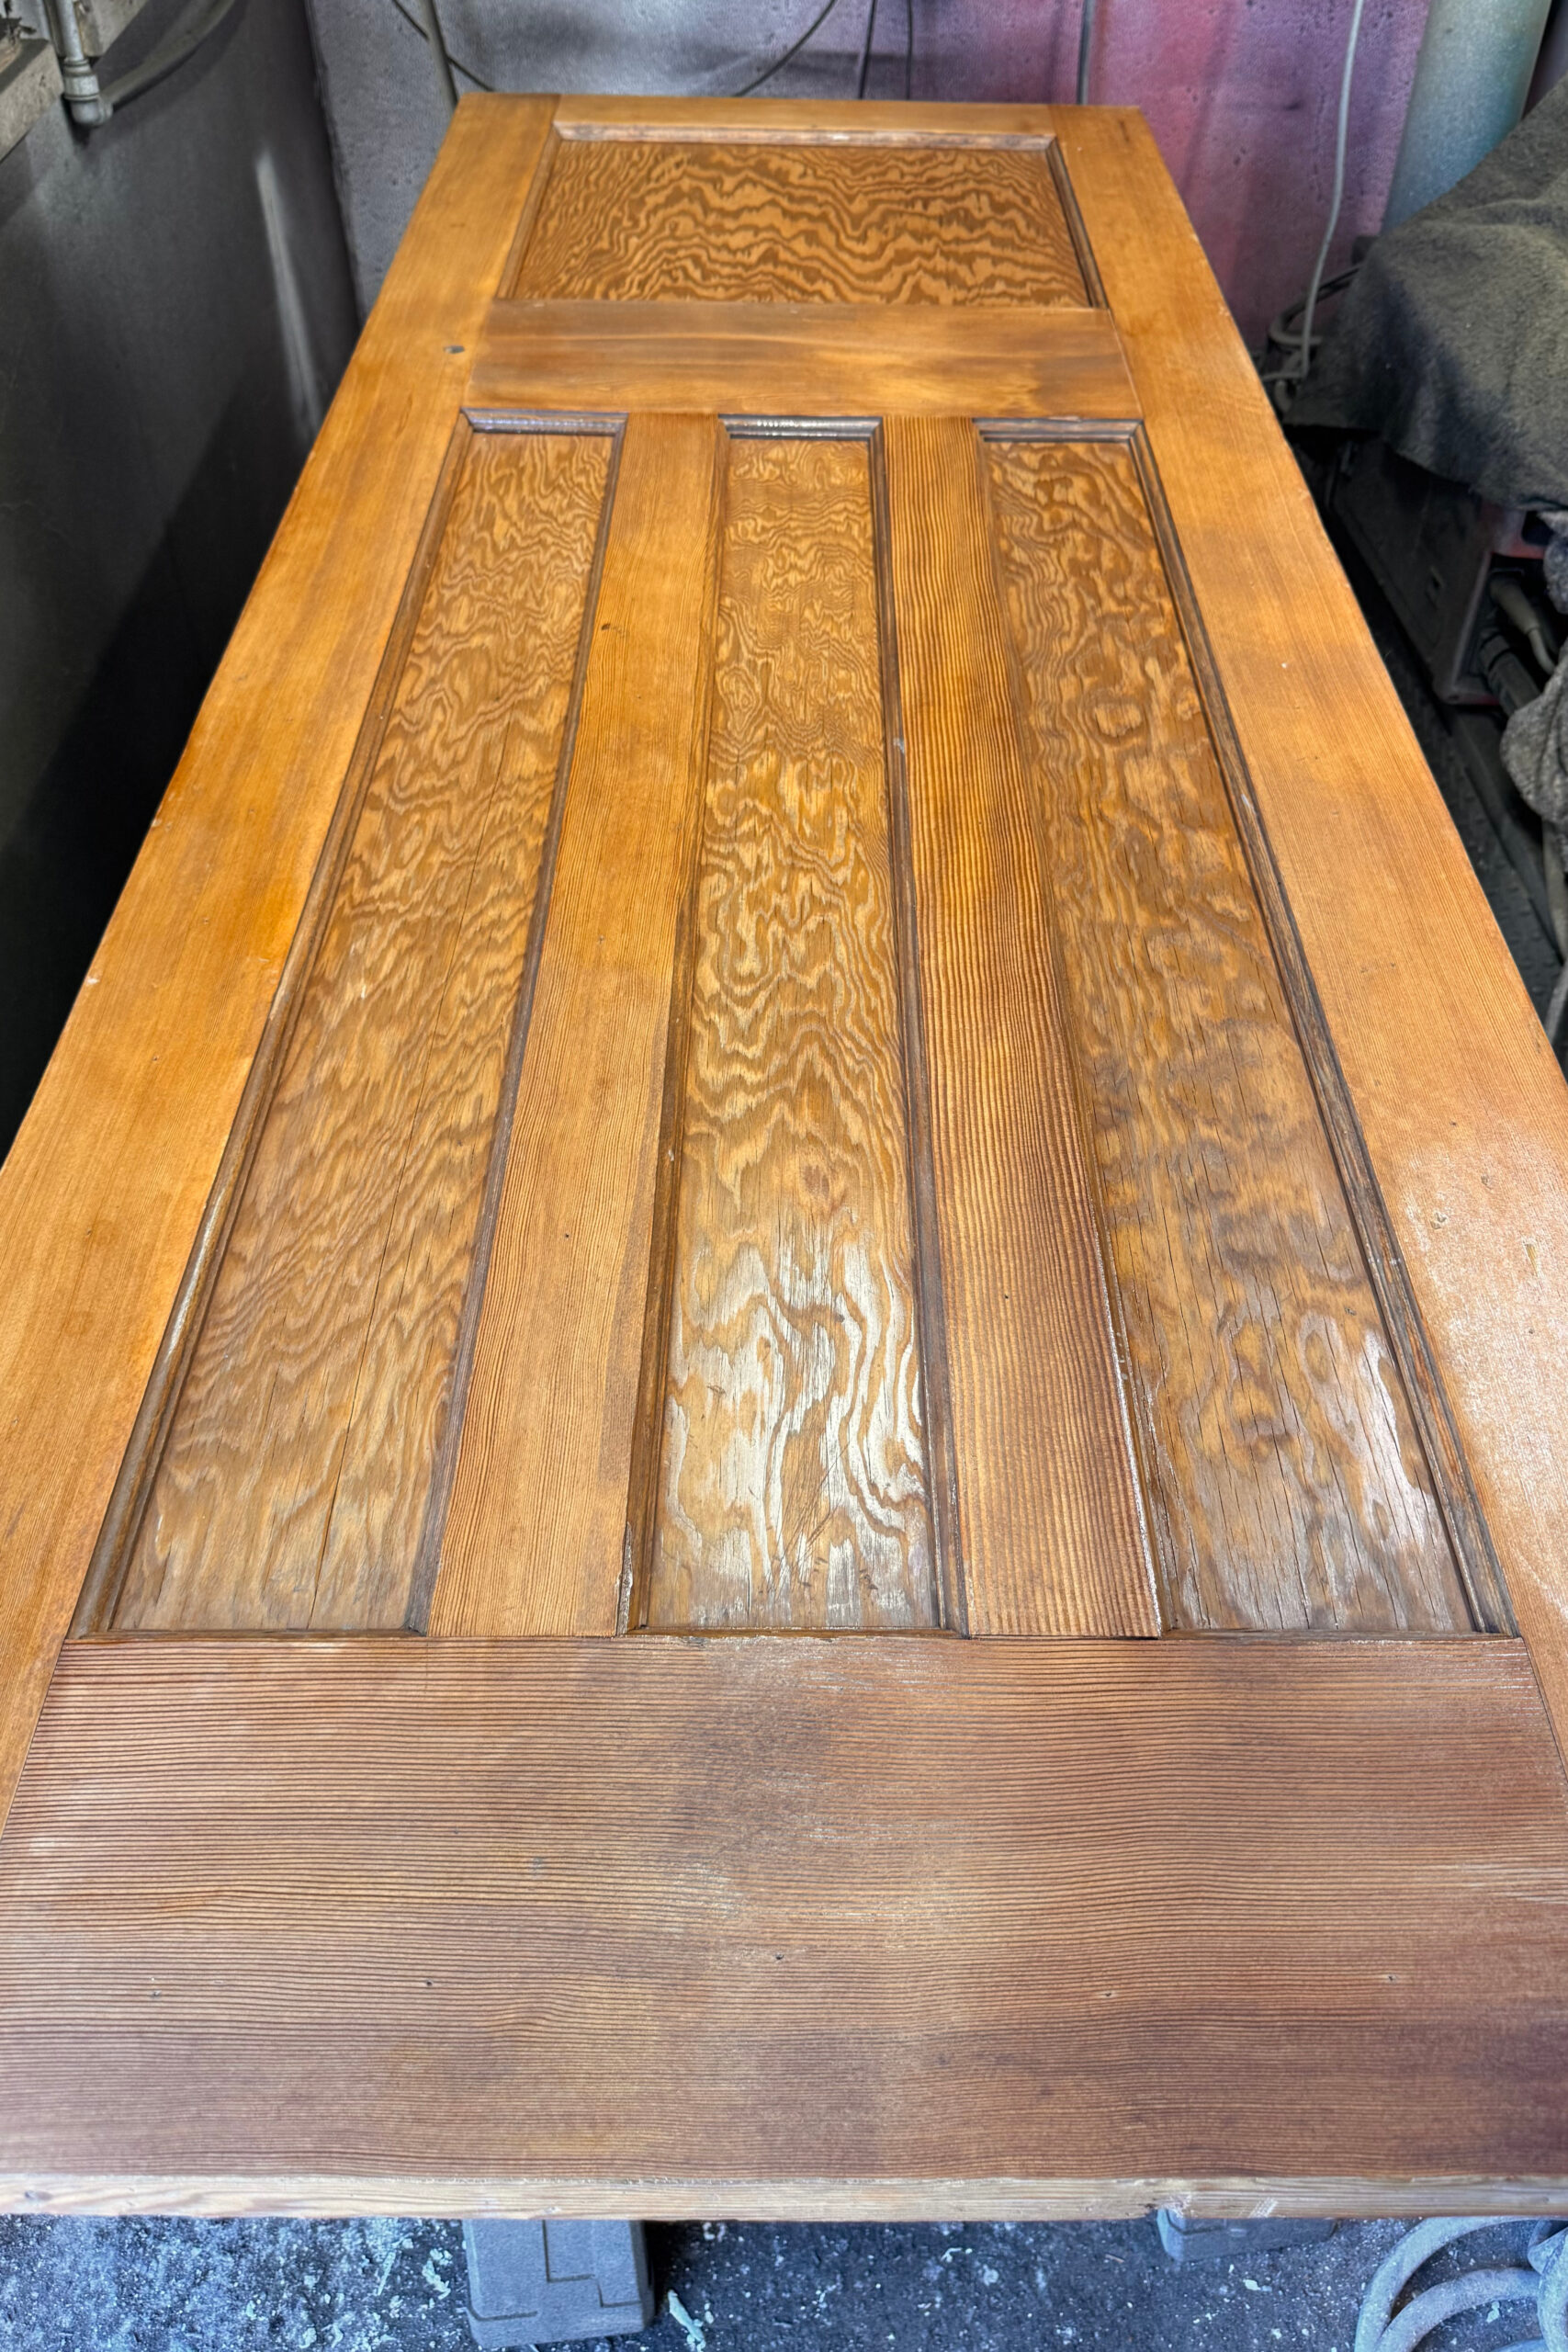
We then tested again.
What we wanted to see was a progressive reduction as each stage of preparation and sealing separated the finished surface further from the historic lead-containing coating.
The second test showed that reduction clearly, giving us confidence to continue with the next protective stage.
The next stage was Polyvine Heavy Duty Polyurethane in Satin Clear.
This added another continuous protective layer over the sealed timber while also giving the doors the kind of durability needed in a busy family home.
Internal doors get a surprising amount of abuse. They are touched repeatedly every day, knocked, wiped down, pushed with dirty hands and exposed to normal household moisture and cleaning.
We therefore wanted the final system to do far more than simply look good when it left the workshop.
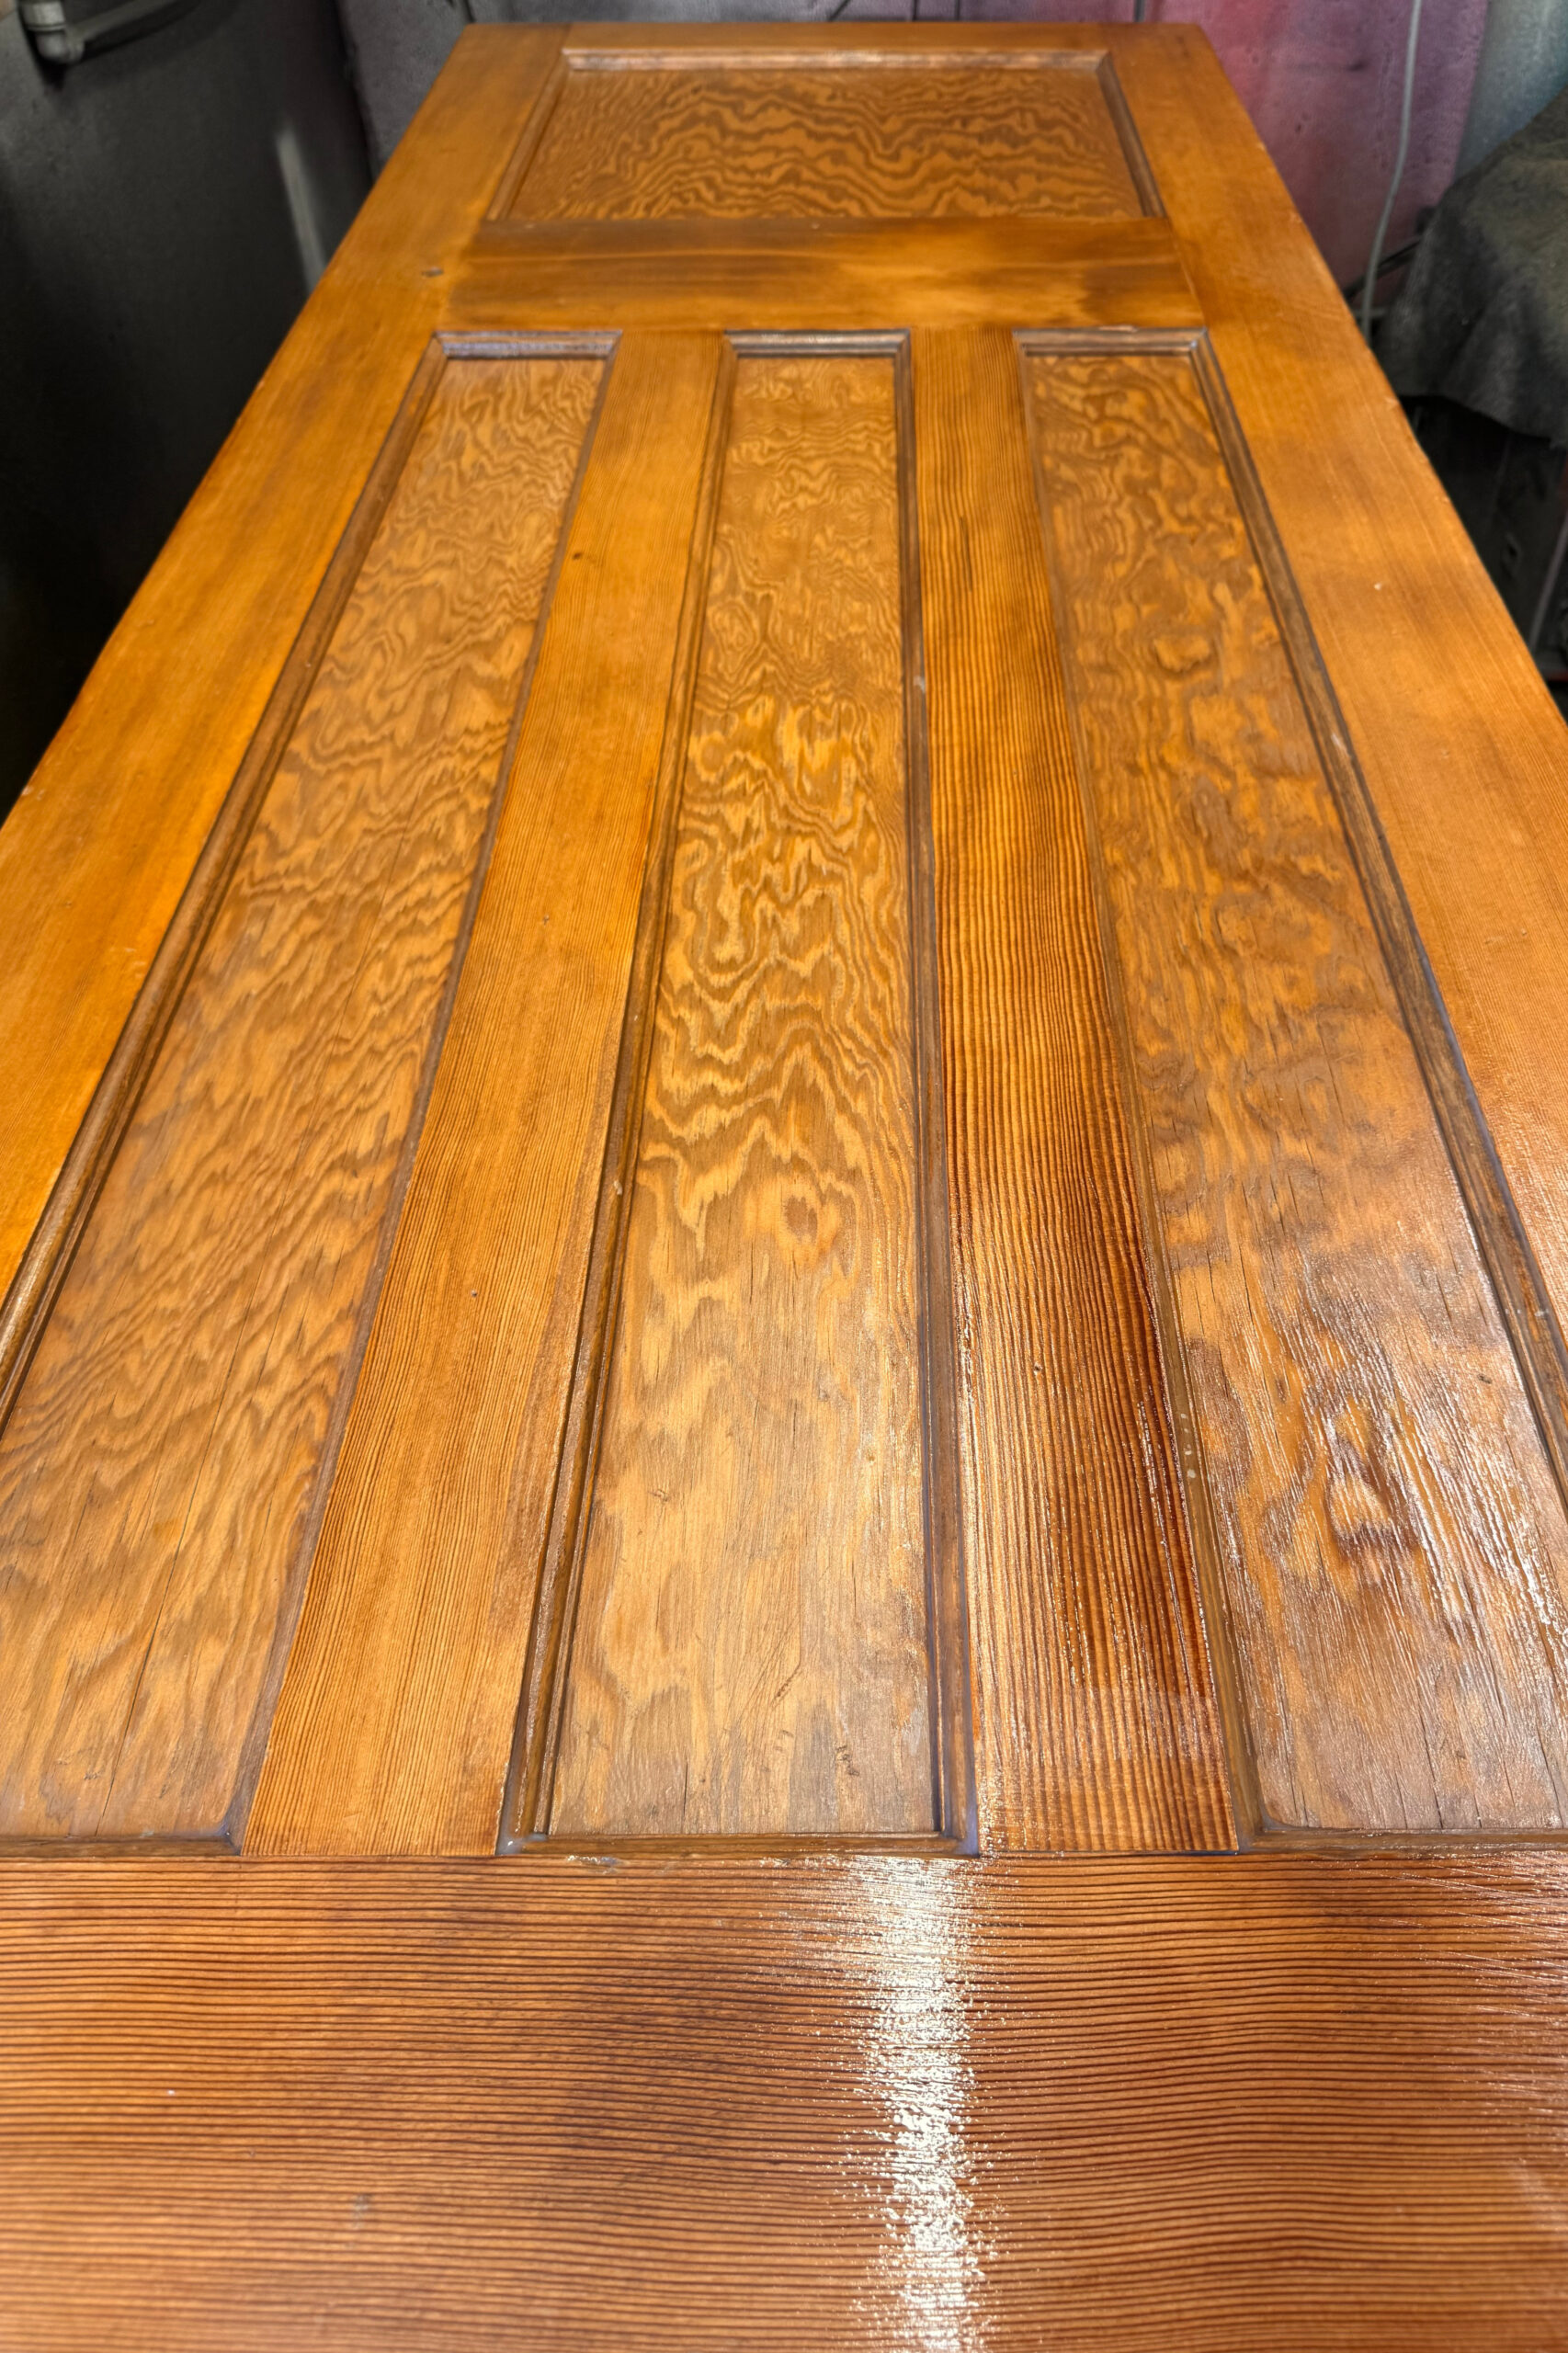
Once the satin polyurethane had dried sufficiently, the surface was carefully flatted using 800 grit abrasive paper.
This very fine abrasive removes small nibs and imperfections in the coating without aggressively cutting back through the protective layers underneath.
It also provides a beautifully even keyed surface for the final coat.
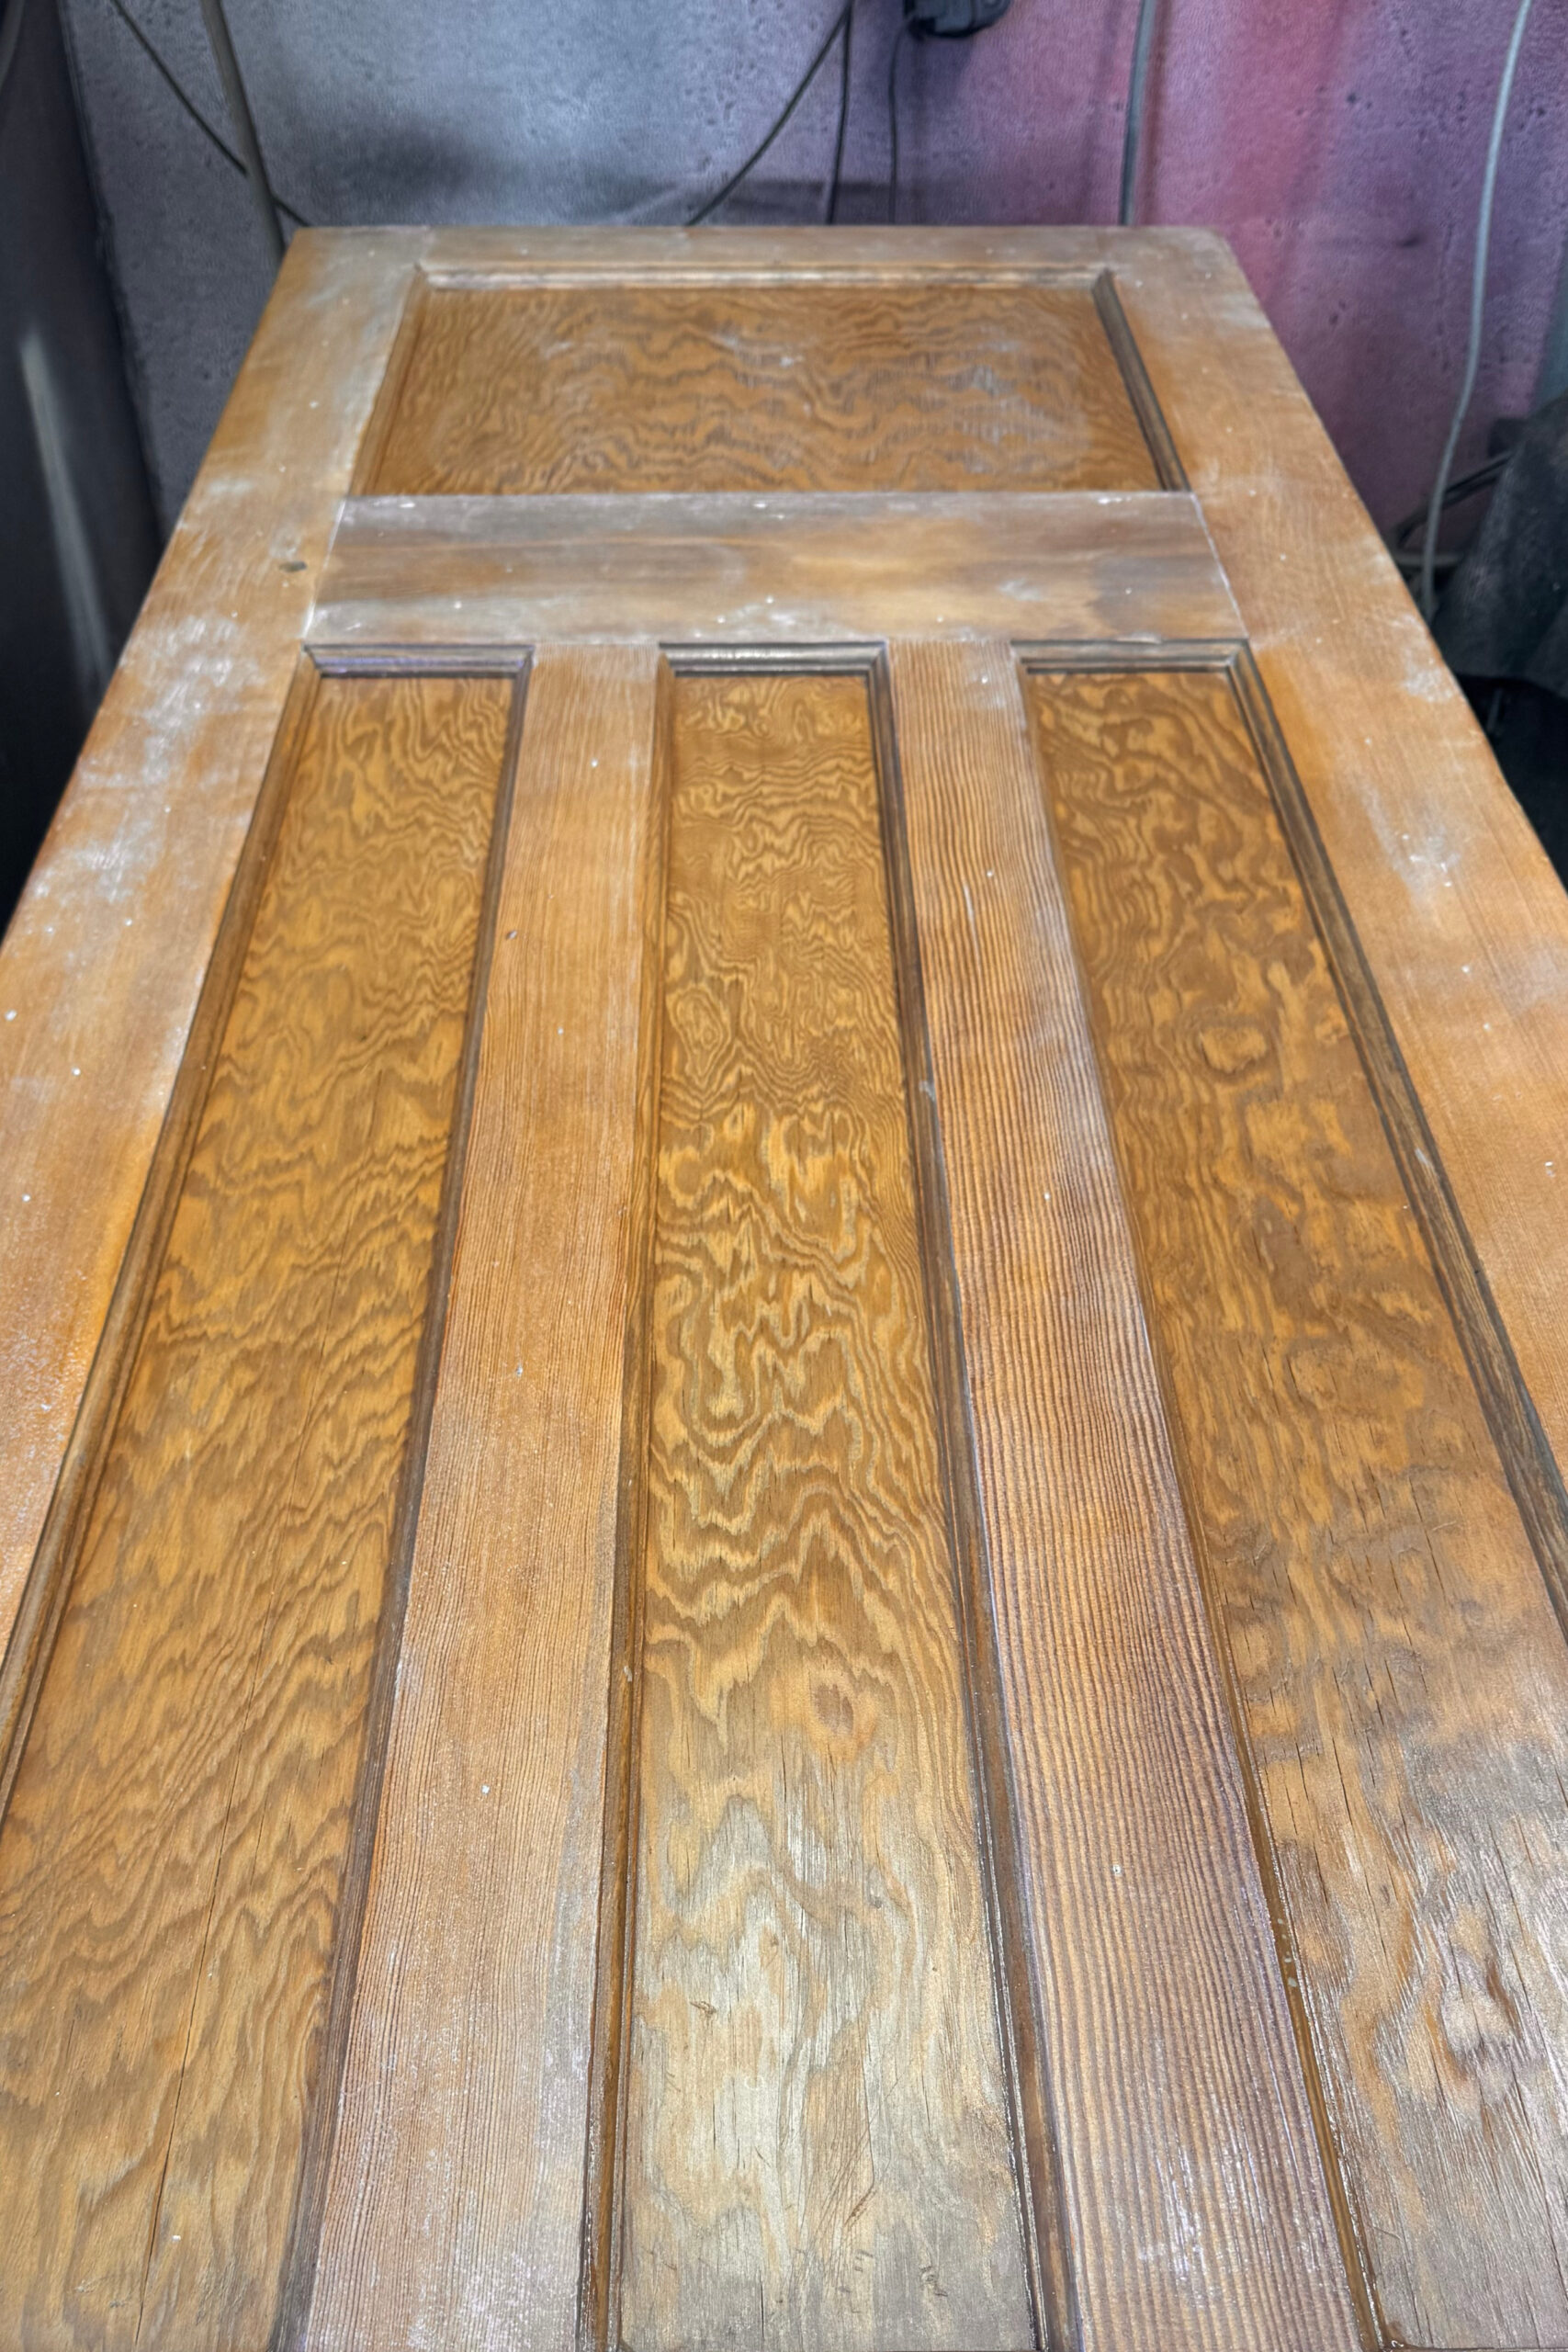
For the final exposed surface we used Polyvine Heavy Duty Polyurethane Dead Flat.
This gave us exactly the appearance we wanted: the protection of a modern hard-wearing coating system without making an old timber door look heavily varnished or glossy.
The low-sheen finish leaves the timber looking remarkably natural while the protective layers underneath provide a surface that can be wiped and maintained much more easily than bare wood.
Remove the old paint and accumulated coatings using the appropriate professional stripping process.
Thoroughly clean and neutralise the timber following stripping.
Progressively refine the exposed timber and remove loose surface fibres.
Check the exposed surface and establish the condition before sealing.
Apply the initial sealing layer over the prepared timber.
Apply Polyvine Heavy Duty Polyurethane Satin Clear for protection and durability.
Remove nibs and refine the surface ready for its final coat.
Finish with Polyvine Heavy Duty Polyurethane Dead Flat for a natural-looking final surface.
At each testing stage we saw a gradual reduction in the indication of lead residue.
Once the complete finishing system had been applied, our final check gave no indication of lead on the finished surface tested.
Just as importantly, the doors looked fantastic.
The stripping process uncovered some wonderful variations in the original timber. Different panels and rails display completely different grain patterns, something that had been hidden beneath paint for years.
The dead-flat final coat keeps the timber looking natural rather than heavily varnished.
Multiple finishing layers separate the exposed surface from the original historic timber underneath.
A heavy-duty polyurethane system makes the doors suitable for years of everyday family use.
Freshly stripped and sanded wood can look fantastic, and some customers are tempted to leave it completely untreated.
The problem is that bare timber offers very little protection against dirty hands, moisture, cleaning, staining and normal household wear.
With timber that has previously carried lead-containing coatings, there can also be a strong argument for sealing the prepared surface rather than leaving the original wood continually exposed to handling.
This particular system allowed us to retain virtually all of the visual character of a natural stripped door while creating a much more robust and easily maintained finished surface.
It's important to be precise when talking about lead on historic timber.
Our surface checks during this project were used to monitor the progression of the restoration and finishing process.
The final test giving no indication of lead means that no lead was indicated on the finished surface at the area tested.
It should not be interpreted as laboratory certification that no lead exists anywhere within the original door, joints, mouldings or timber beneath the sealed finish.
In many cases, yes. The correct stripping process depends on the construction of the door, the coating present and the condition of the timber. We assess each door before deciding on the appropriate method.
Paint stripping removes the historic coatings, but it is not sensible to claim that every microscopic trace of lead has been removed from every fibre or joint of an old door. Further preparation and a suitable sealed finish can greatly reduce contact with the original surface.
Yes. As well as paint stripping, we can quote for sanding and suitable finishing systems depending on the timber, intended use and finish required.
A dead-flat polyurethane provides the durability and cleanability of a protective coating while retaining a much more natural, low-sheen appearance than conventional gloss varnish.
Yorkshire Paint Stripping can strip old doors back to their original timber and can also quote for sanding, preparation and finishing where required.
Send us clear photographs of your doors and let us know the finish you're hoping to achieve.
Door Stripping Services Send Us Photos